My Favorite Crafts
Here are a couple samples...
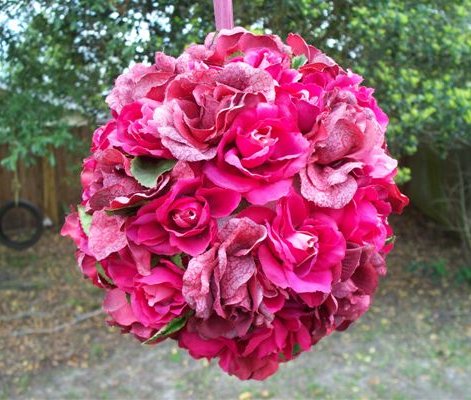 | What you'll need:
Start by tying ribbon in a knot at the end to form a big loop. Insert a floral pin at the knot and insert it into the styrofoam ball. Yoy may want to use hot glue to secure it, but it should stay pretty good. Next, cut flowers off leaving about 1/2" of stem. Once you have a bunch cut, push one into the styrofoam. Pull it out and put hot glue in the hole. Push flower back in. Continue doing this until you have all the styrofoam covered. You may want to plan this out before you start gluing to achieve the look you want. Feel free to add leaves or baby's breath. It is totally up to you. You're all done! Hang it up! (I have mine above my kitchen sink.) This makes a great gift! |
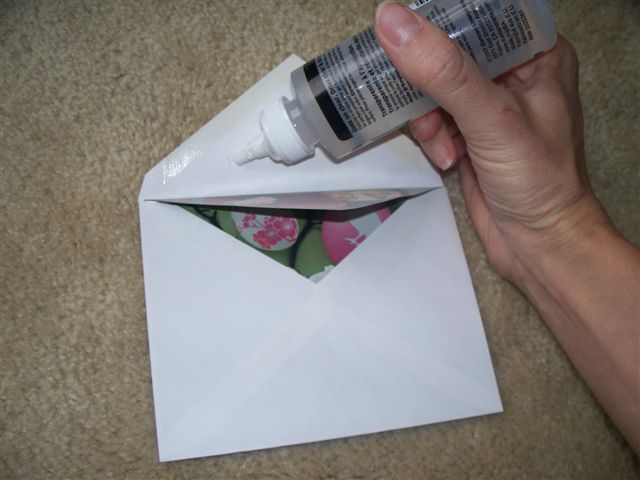
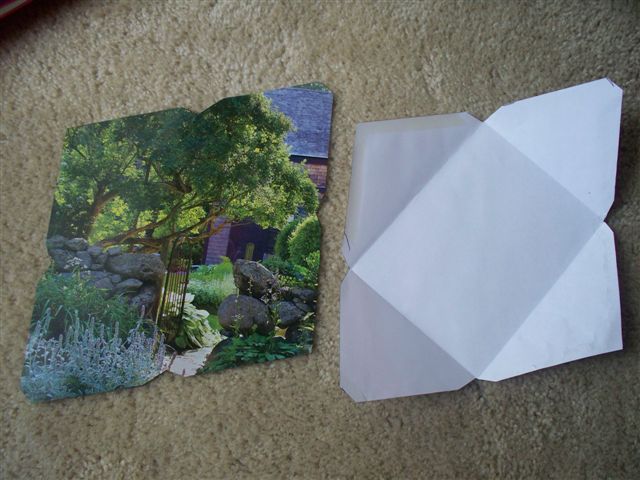
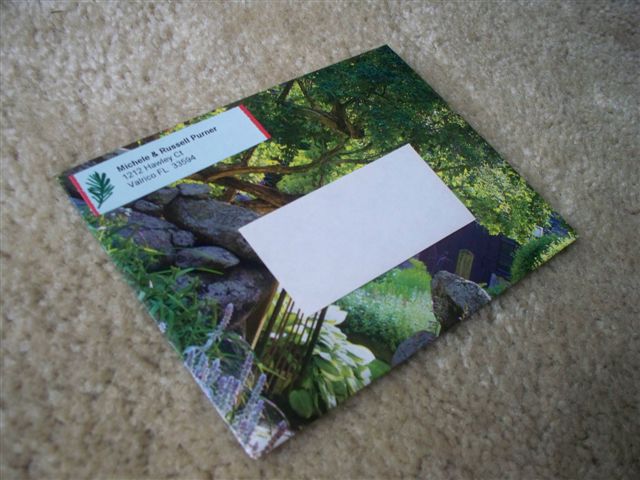
MAKE YOUR OWN ENVELOPES / EMBELLISH ENVELOPES
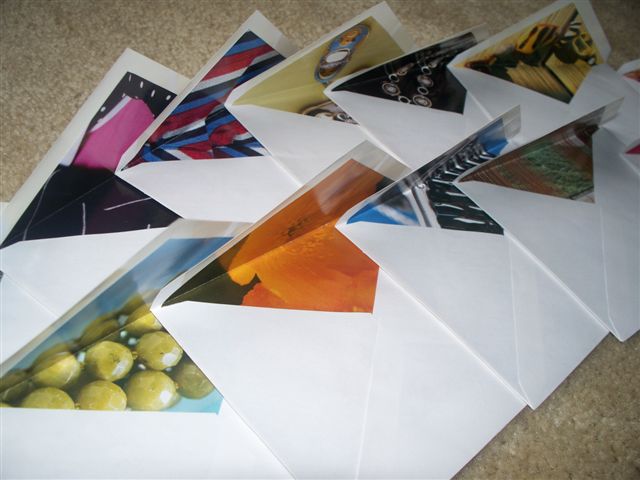
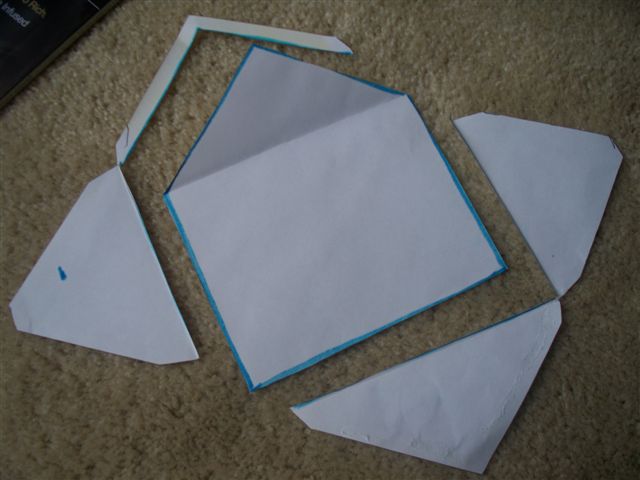
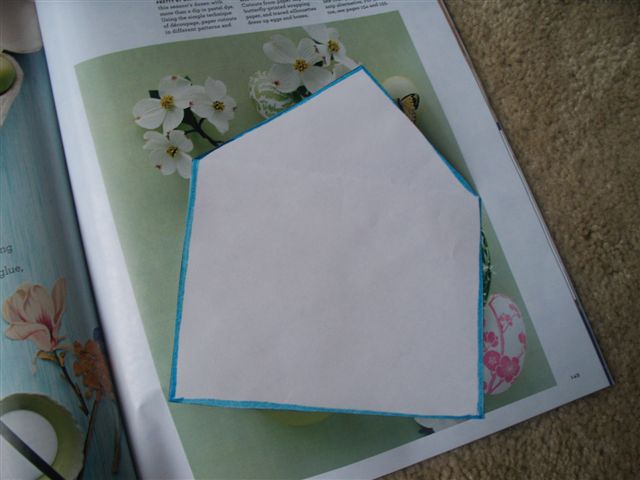
Example A: Embelished Envelopes Example B: Make Your Own Envelopes | I've been doing this since I was little with used gift wrapping paper. Make a plain envelope special with a little glue and old magazines! For Example B: Take apart a plain envelope. Trace onto magazine page with a pretty picture on it. (Other ideas: Use gift wrapping paper, homemade paper, parchment paper, etc.) The thicker the paper the better, so even a magazine cover or back would work well. Trace the envelope onto the backside of the magazine page. Cut out. Fold at creases. Glue side flaps & bottom flap together will craft glue or glue stick. For extra security, you can scotch tape the inside of the joints. Now, when you are ready to mail a letter in it, you can seal it with tape, glue, or if you are really adventurous, you can make homemade envelope glue (Recipes below)! To address it, you can write with marker on the front, if the paper is a light color. If the envelope is dark, use a white paint pen, or print out a mailing label from your computer to stick on the front. Now, you can just stick on a return address label on it and voila! Fancy, homemade envelope!
RECIPE #1 Ingredients: RECIPE #2 Ingredients:
|
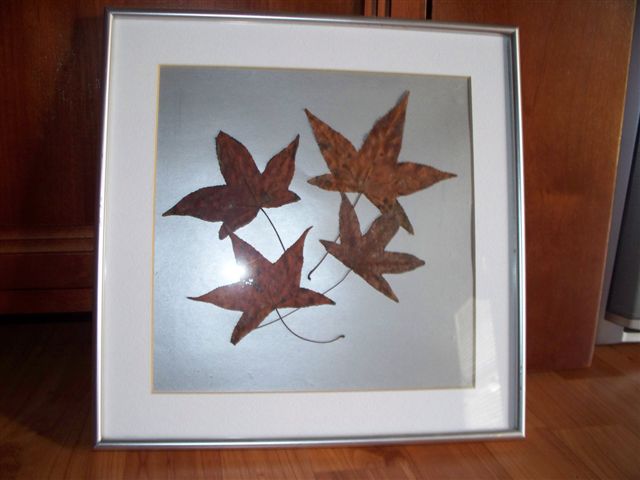
FRAMED DRIED LEAVES ARTWORK
 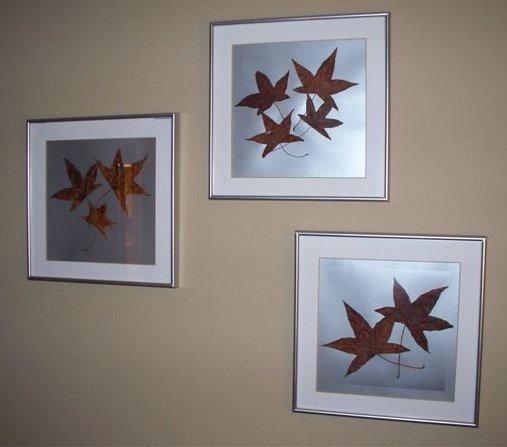 | What you'll need:
Note regarding project pictured: I found 3 coordinating pieces of baby's room art at a thrift store. I sprayed the frames silver and mounted 2 leaves in one, 3 in another, and 4 in the last one. So they are all different, but go together. |
HOW TO FUSE PLASTIC BAGS
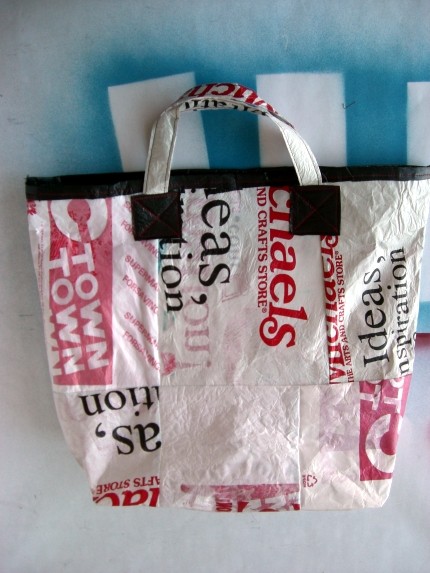 | This is a fun project from Etsy Labs. Click here for the tutorial and to see more pictures. You basically iron plastic bags together. They melt or "fuse" together and the result is a waterproof fabric that you can sew. Great for making tote bags! What you'll need:
|
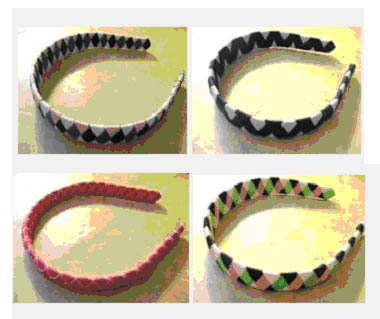
WOVEN HEADBANDS
ALTER T-SHIRTS WITH A STAPLER
 | Okay, this isn't really a craft, but I had to share this tip I found from Etsy Labs. |
HOW TO MAKE A DRESS FORM OF YOUR OWN BODY
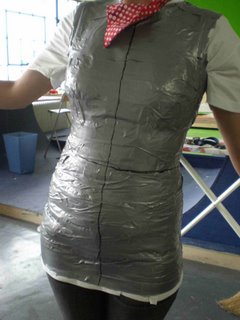 | This is great for anyone who likes to experiment with making their own clothes. Real dress forms are expensive and may not fit your exact shape. By making this homemade dress form from an old t-shirt and duct tape. This will ensure that you will have the right fit. It might be fun to make this and then cover it with papier mache and paint it! Anther idea from Etsy Labs. Click here for the tutorial. |
CROCHET LINKS
Free Projects from CrochetToday.com
Featured Pattern of the month from Crochet! Magazine
ETSY.COM's Crochet Section. Buy & Sell all things handmade and get great ideas!
Ravelry.com
Great site for ideas & patterns
CounterfeitCrochet.com
Photos & Instructions on how to make crocheted versions of designer purses
MyRecycledBags.com
A great, green site for reusing items and making crocheted items & crafts out of them
CrochetMe.com
A crochet forum with patterns, ideas, & questions answered
CRAFT LINKS
Crafts from Martha Stewart.com
ETSY.COM :: Buy & Sell all things handmade and get great ideas!
GirlyThingsBows.com
Great step-by-step how-to's on bow making and lots of girly craft projects
THINGS I LIKE
www.MaryAftonNaturalBeauty.com
Earth-Friendly skin care products & homemade soaps